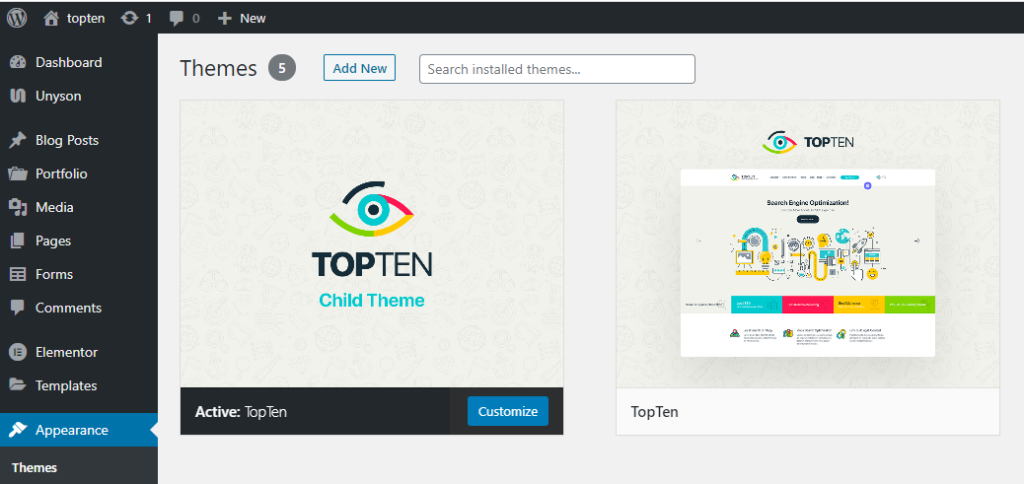
After theme installation, you’ll have two themes – child and parent. A child theme takes the functionality of the main theme (parent theme), which gives you the possibility to customize an existing theme.

All customizations are stored in the child theme and anything in the child takes priority over the parent. So if the same file exists in both child and parent, the file from the child will control that aspect of the theme.
Working with child themes, your customizations are safeguarded from future upgrades because you only upgrade the parent theme, which you never edit, while the customizations are protected in your child theme which you don’t upgrade.
The child theme will be automatically activated into your site after installation. So, instead of modifying the theme files directly, it’s better to customize the child theme for the following reasons.
Why use a Child theme?
Safe Updates. You can easily modify your website using child themes without ever changing the parent theme. When a new version of the parent theme appears, you can safely update it as all your modifications are saved in the child theme.
Easy to Extend. A child theme has great flexibility. It does not require writing a lot of code. You can modify only those template files and functions that you need.
ATTENTION: When you install the theme you must upload both parent and child theme folders to /wp-content/themes/ but you should only activate the Child theme via Appearance > Themes.
Modifying files from the Parent theme folder
While you should never edit files in your Parent theme, if you really must, the safest way to do it is to download a copy of the file you want to modify on your computer, make the changes, and then upload it into your child theme folder.
INFORMATION: This way of modifying the files can be used for any files from the parent theme — note that you must re-create the same folder structure in your child theme that exists in the parent theme in order for the modifications to take effect.


