


Nowadays translating WordPress themes and plugins is no big deal, as it was a few years ago. There are plenty of translation plugins with unsophisticated interfaces and functionality, that let you translate your website content directly from the WordPress admin dashboard with no need to dig into the code.
There are plugins intended for translating content of a site, like WPML and Polylang. And there are plugins for translating the hardcoded strings in the WordPress themes. In this article, we will talk about the latter.
One of the best plugins for translating WordPress strings, in my opinion, is Loco Translate. It is actually free, which makes it even more appealing.
First of all, I’d like to show you how to change your language in WordPress.
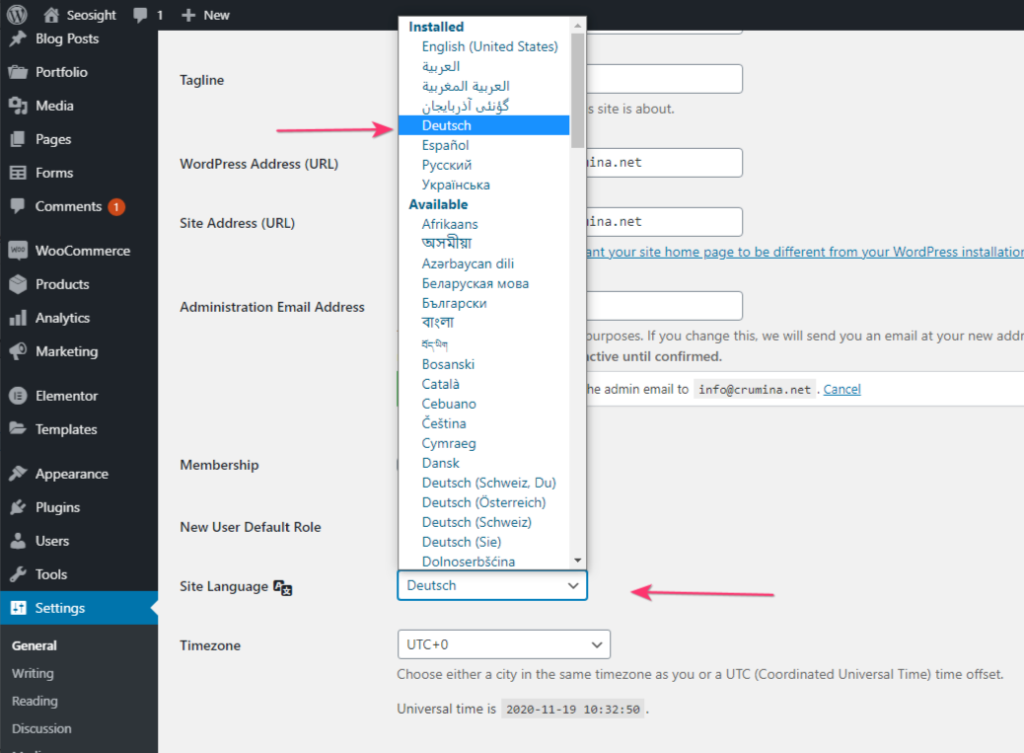
Let’s see. I will try the German language. Go to the Settings > General in your WordPress admin dashboard.
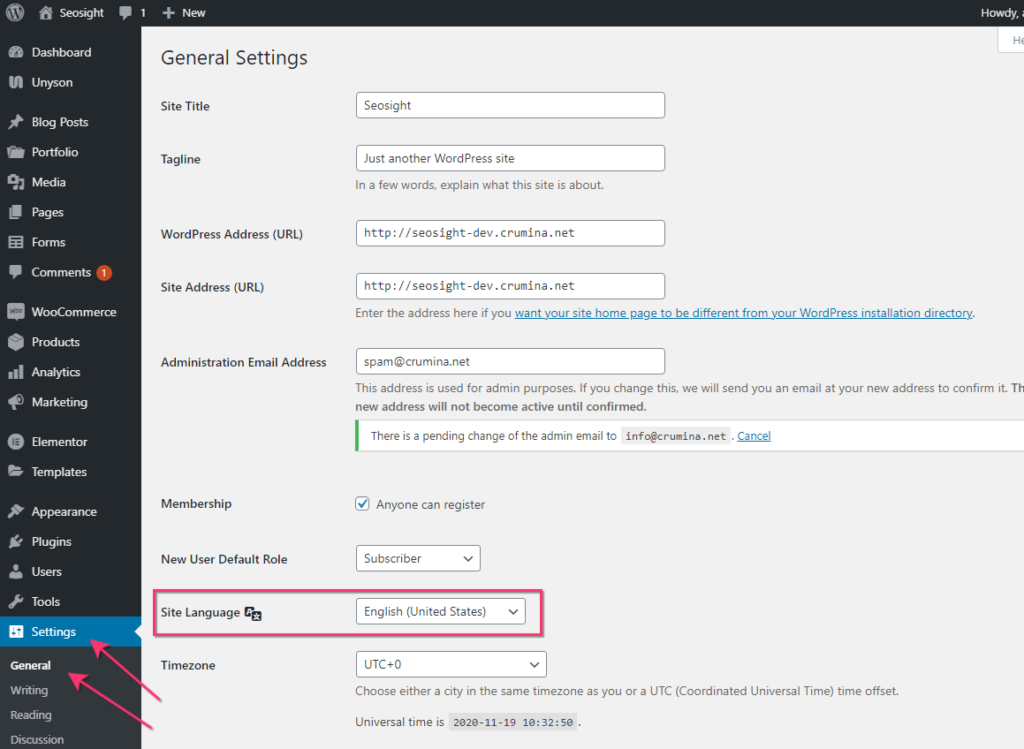
Scroll to the bottom of the page and select the needed language from the Site Language dropdown. Click on the ‘Save changes’ button and watch the changes on your site.
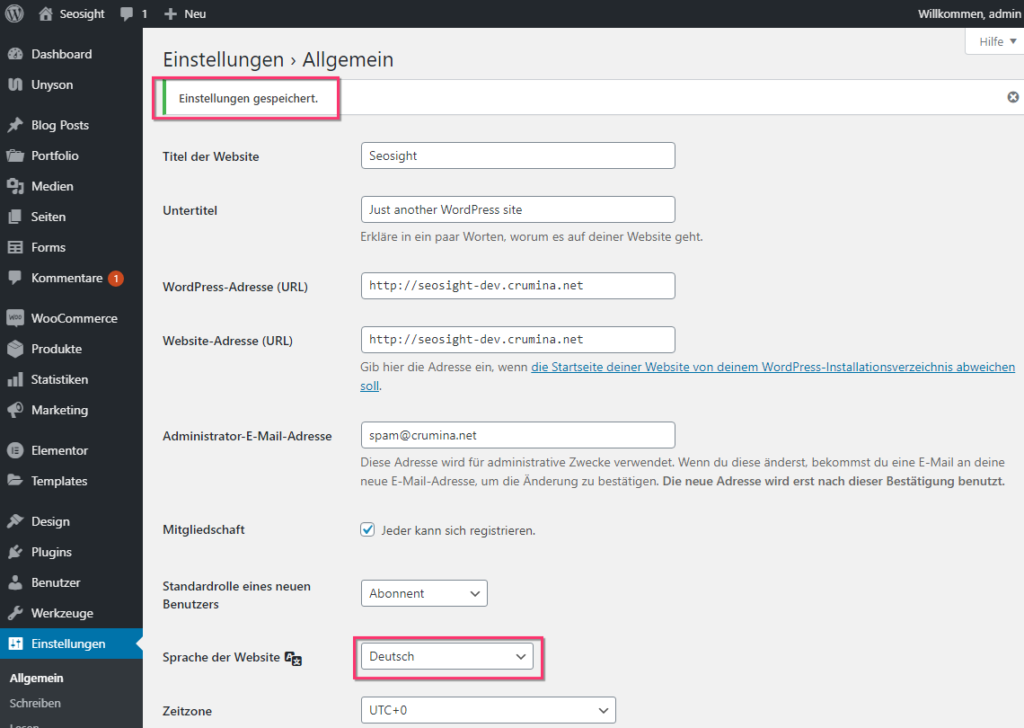
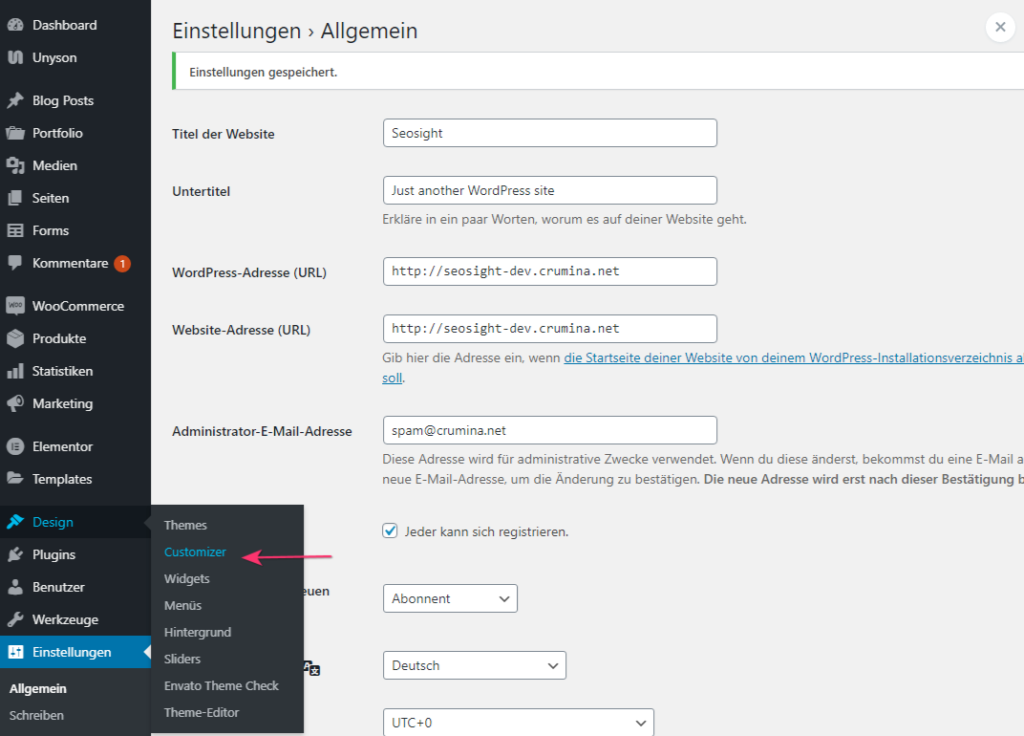
You can see that some things have been translated here, and some – not. Click on the Customizer link. All strings should be turned into German there.

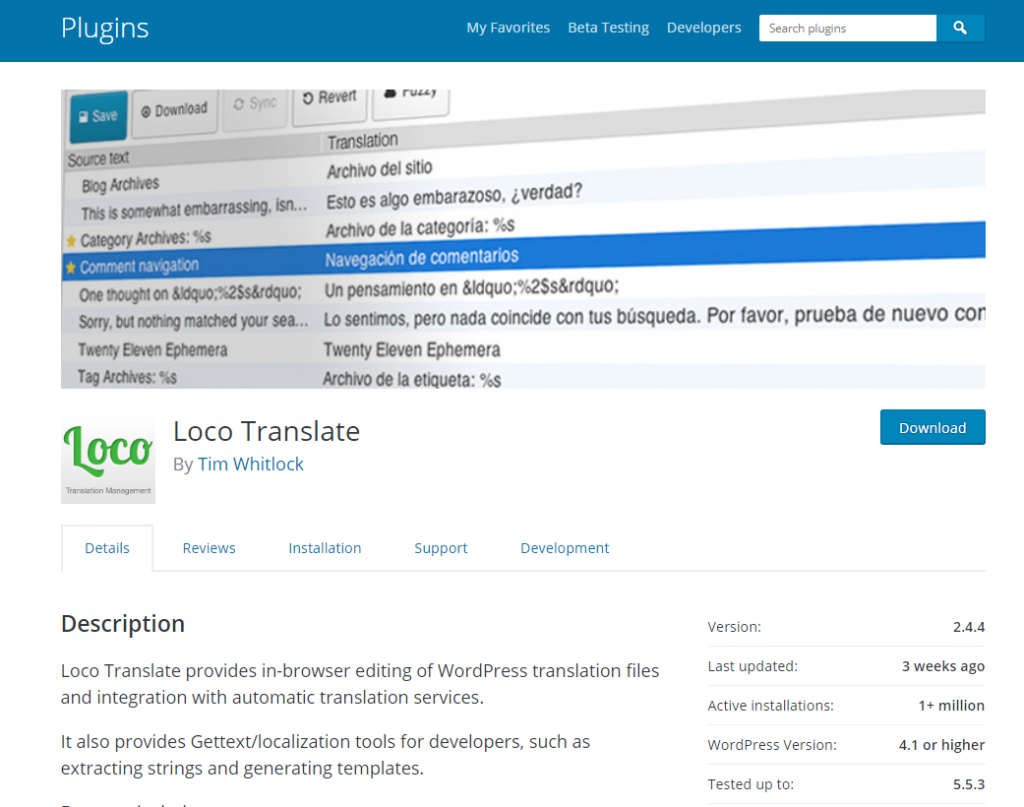
If you see that the translation is inaccurate or incomplete, you can edit it via the Loco Translate plugin.
Free plugin Loco Translate
This plugin is active on over 1+ million websites. It’s got amazing reviews, and it’s straightforward to use in order to build a custom translation or add to the existing one.
How to install Loco Translate
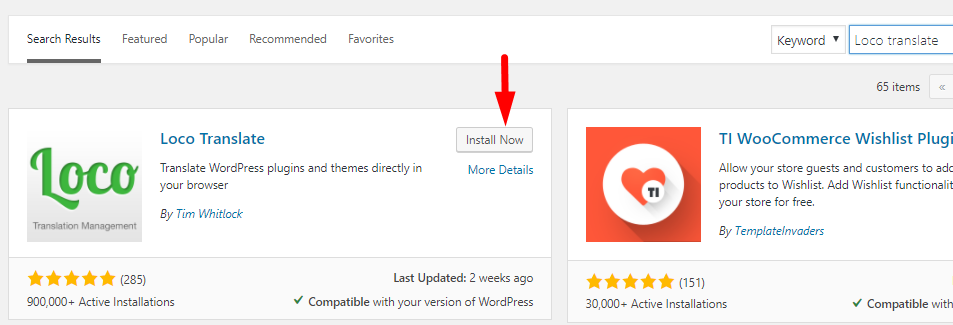
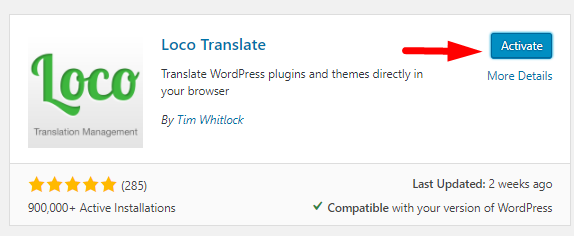
Now let me show you how to translate/edit other strings via the Loco Translate plugin. First of all, install and activate the plugin from the WordPress repository.
How to Use Loco Translate
After installing and activating, go to the plugin`s settings.
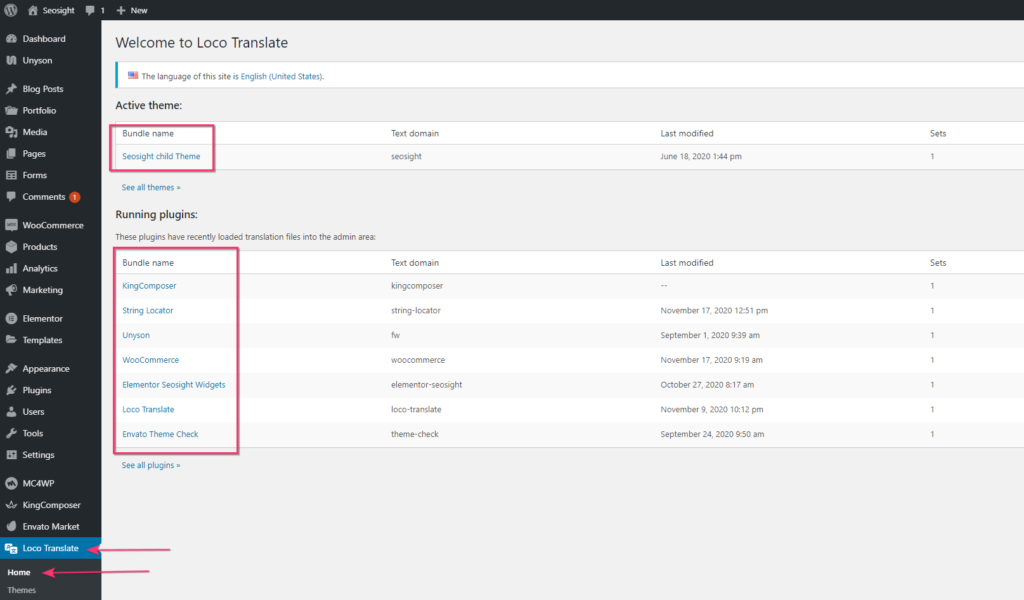
When you go to the Home of this plugin, you see a list of your active theme and plugins. It shows the child theme and the list of your running plugins.
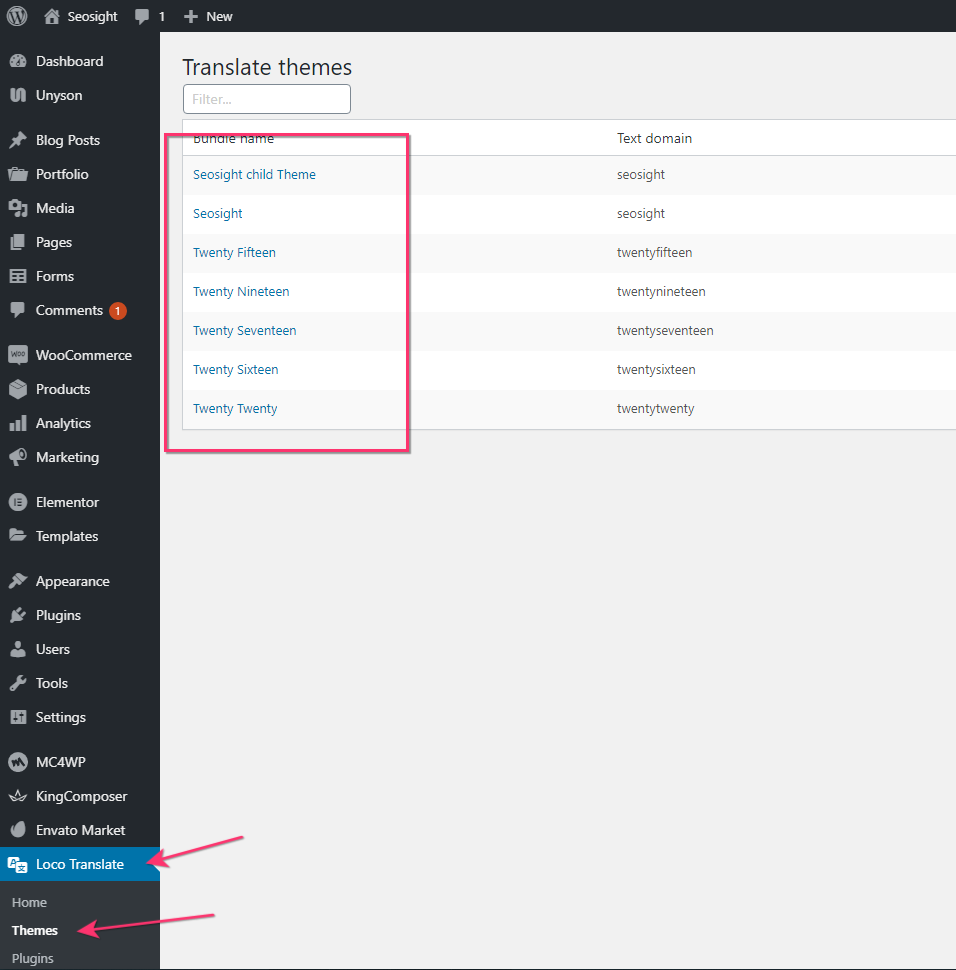
When you click on Themes, you see all themes that you have installed.
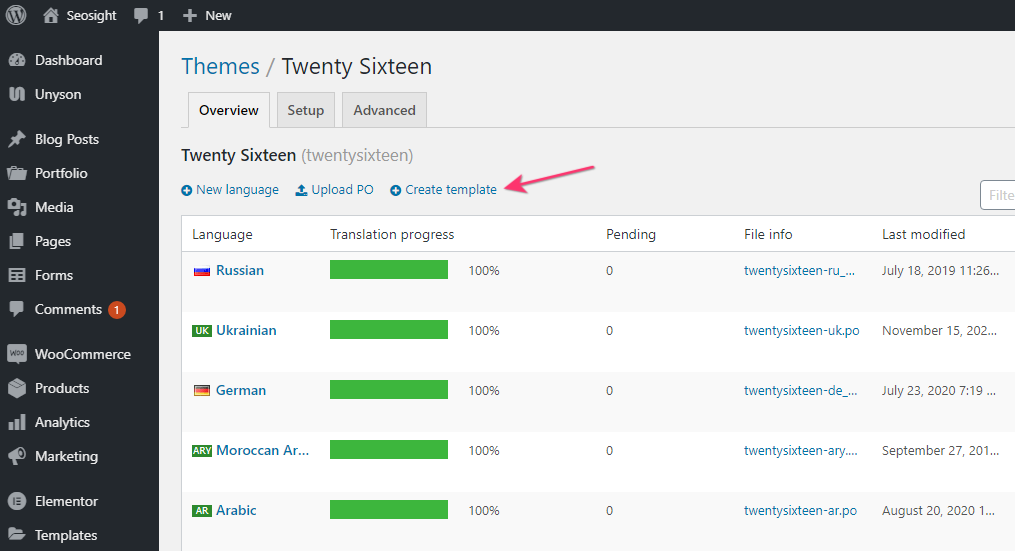
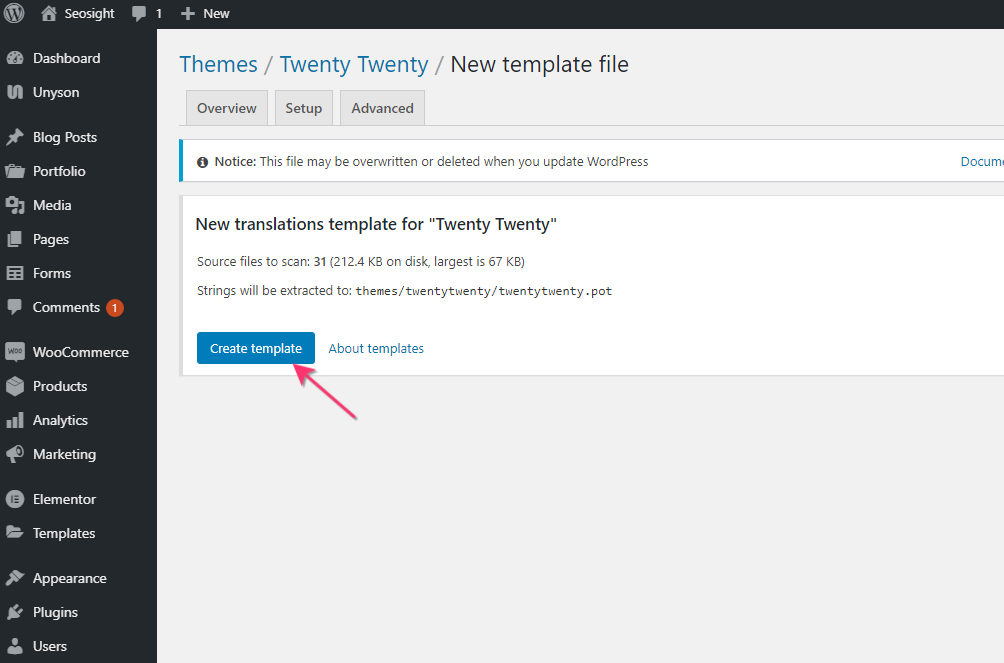
Click on the Create template link and after that on the Create template button.
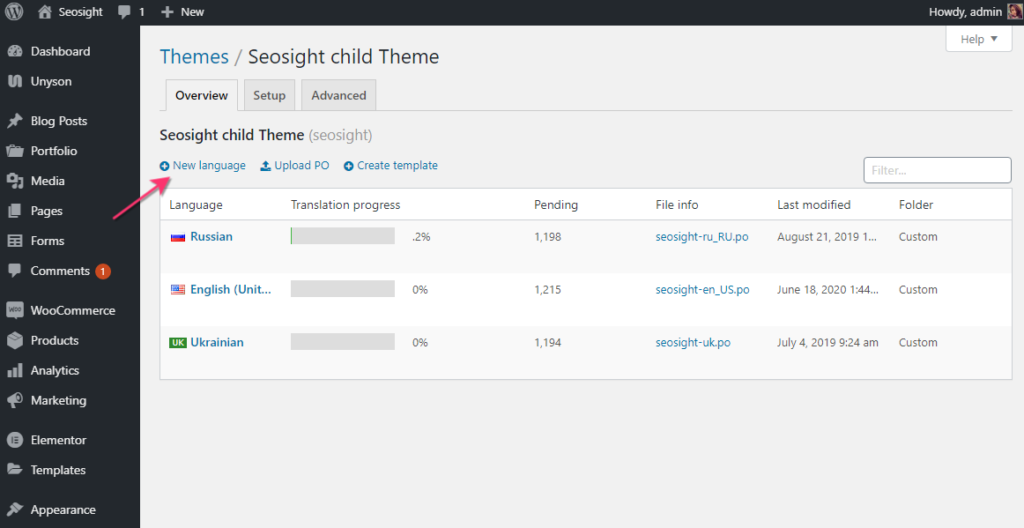
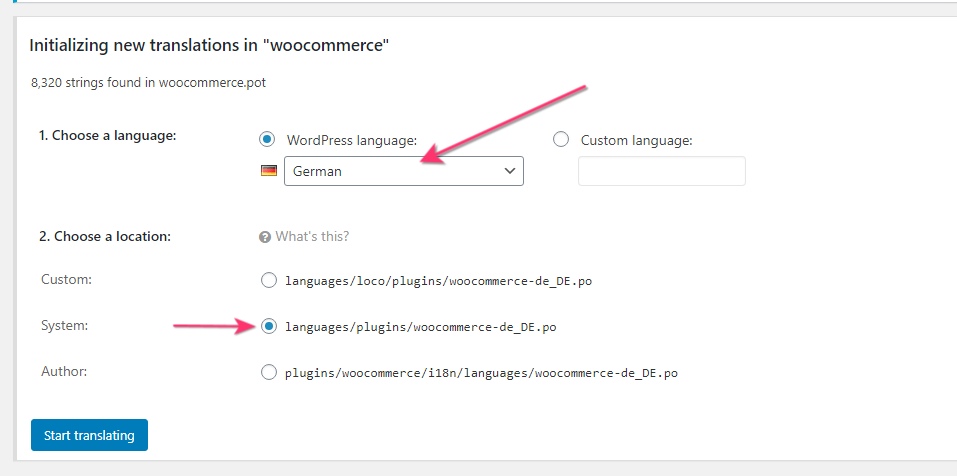
Now click on the New language link. You are taken to the screen where you need to choose a language.
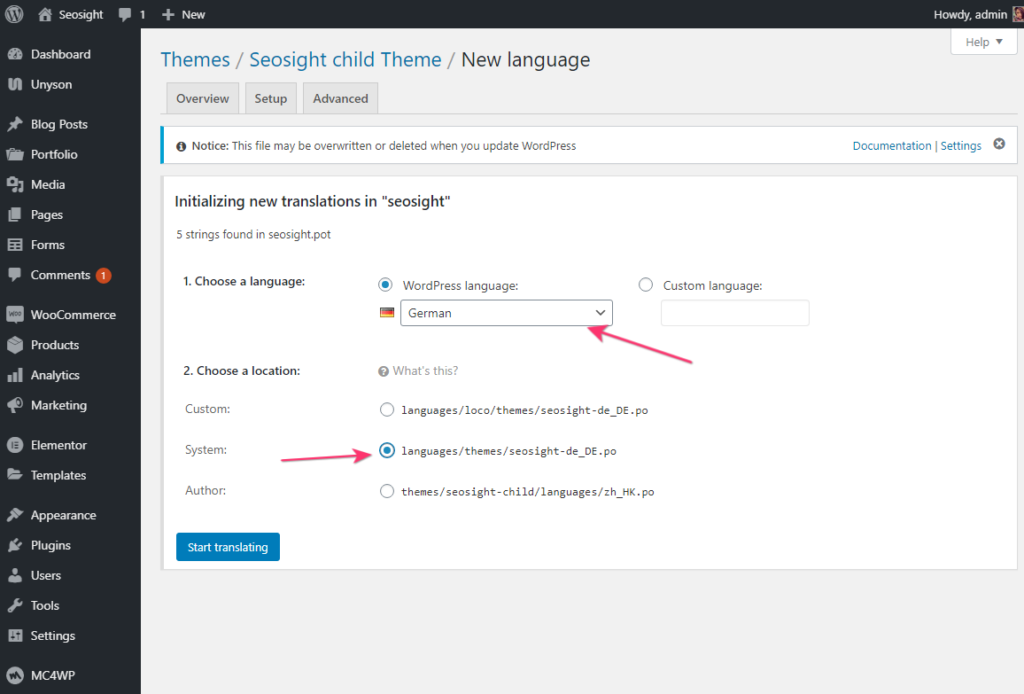
Important: in ‘Choose a location’ you need to choose ‘System’
After that click on the Start translating button and you’ll see all available strings for translating. You can translate all strings or only selected ones. Use the Search box to find the specific text strings.
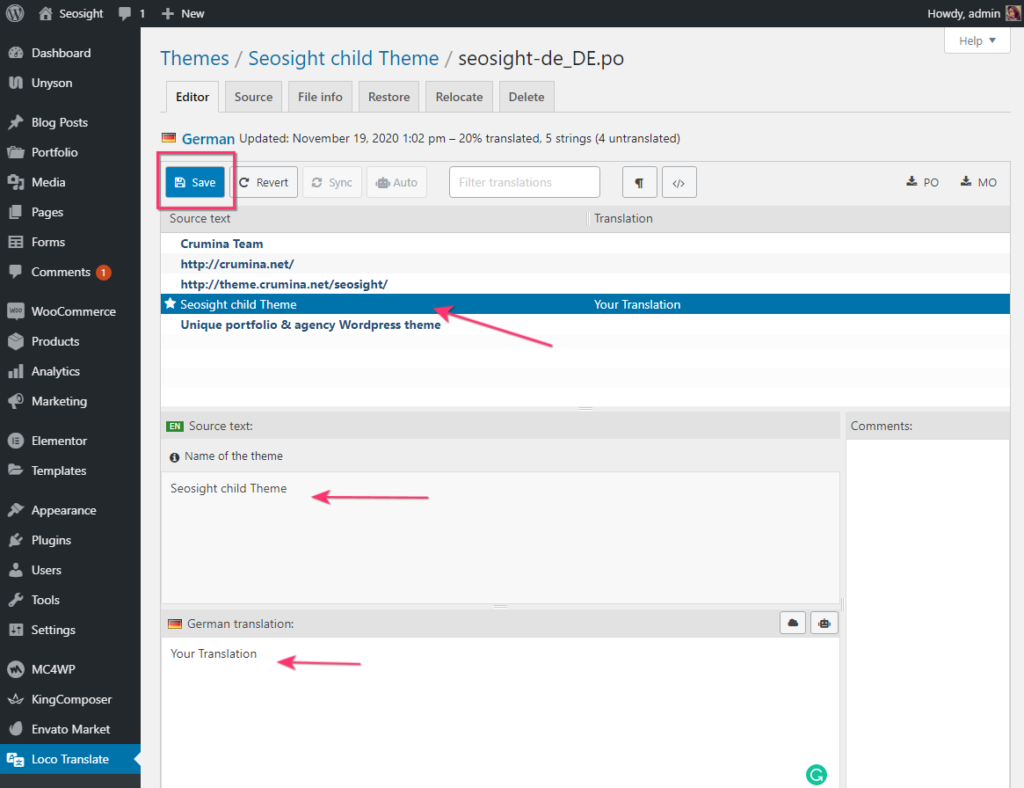
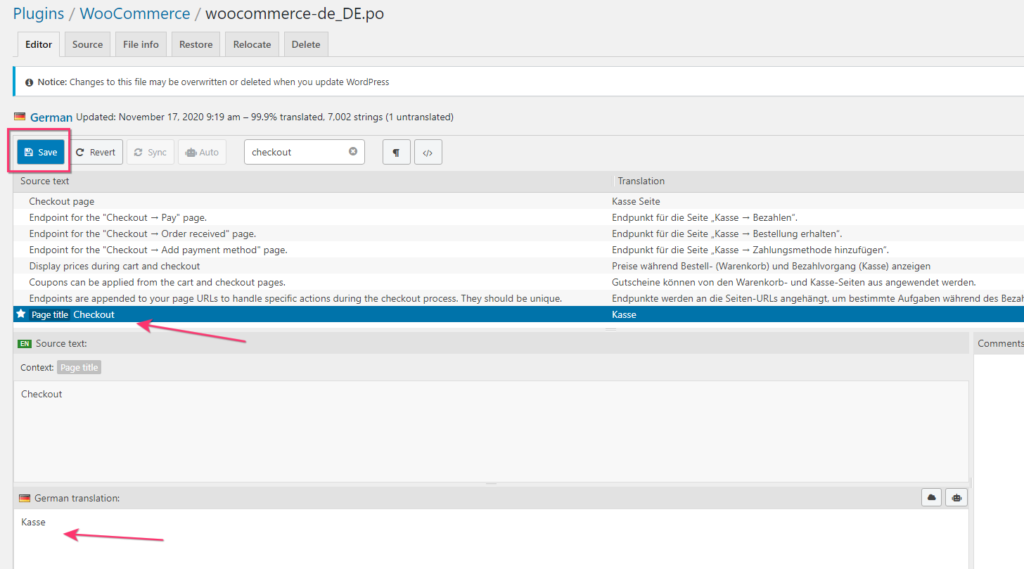
After translating the string, don’t forget to click Save!
The same process is to be carried out for te plugins. When you click on Plugins, you see all plugins that you have installed.
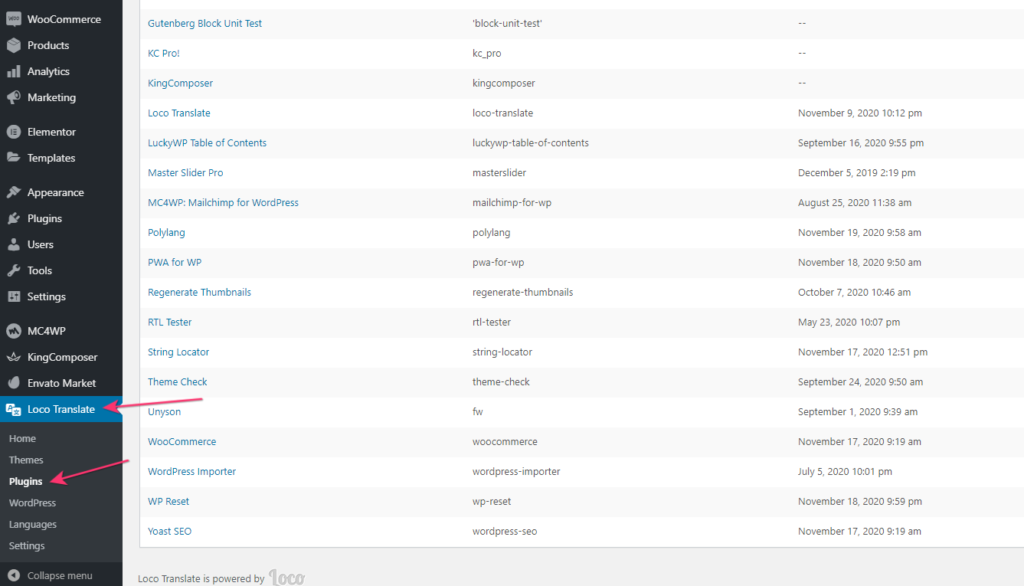
Choose the one you need to translate, for example, WooCommerce. Click on the New language link and choose the needed language.
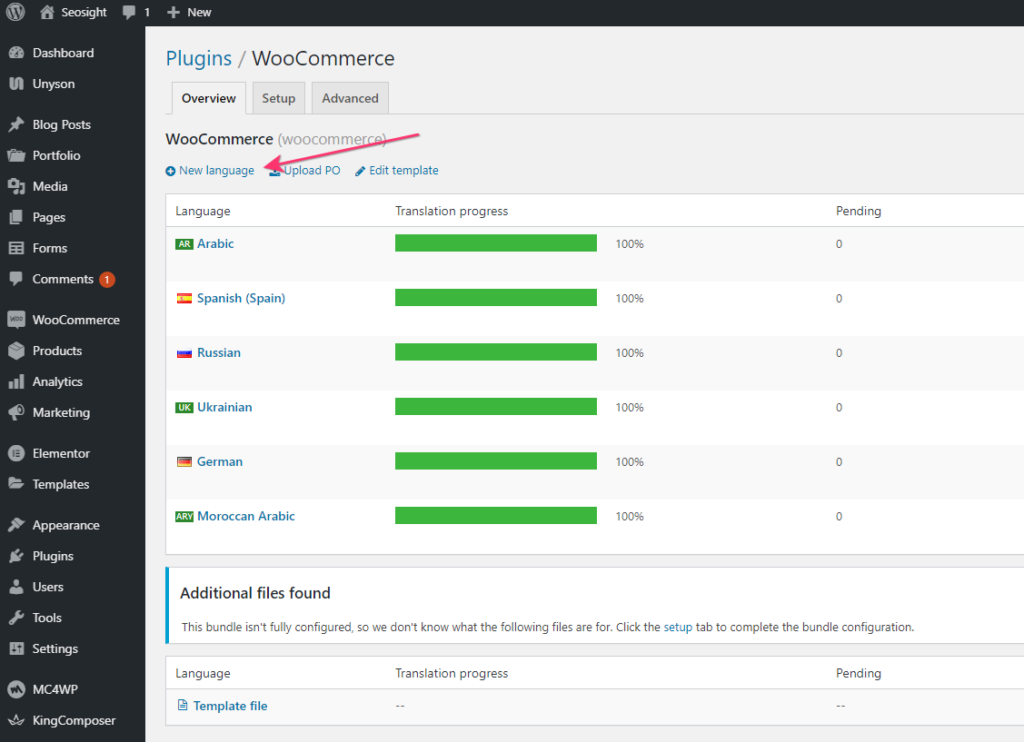
Important: in ‘Choose a location’ you need to choose ‘System’
After translation is finished, save changes.
Relocating of the language file
It often happens, that translations appear to be lost after you update the theme or plugin. It happens if language files are located inside the theme or plugin repository. To avoid deletion of your translations, it is recommended to relocate the language file into the “languages/loco/themes/” directory.
So how can you relocate the language file? Go to Loco Translate>Themes/Plugins, select the needed theme or plugin. Hover over the language file and click on the Edit link.
Switch to the Relocate tab and select the Custom location option.
That’s it. Now you can rest assured, that all your translations are safe.
Final Thoughts
In this article, we have learned how easy it is to translate text strings into your language with help of the Loco Translate plugin. It is powerful, user-friendly, and free of charge.